Finishing lines stall in the same place. A flat abrasive cannot follow a curve, a routed edge, or a carved groove, so quality drops exactly where the part becomes interesting. Sanding profiles by hand costs labour hours and inconsistent gloss, while over-sanding flat panels erodes crisp edges.
A good woodworking sanding brush gets four things right at once: the abrasive type and grit suit the wood species and the stage the part is entering; filament density and trim length keep contact pressure even across the whole face; the core holds balance at the line speed you actually run; and the abrasive can be refreshed rather than replaced as a complete unit. Those four decide whether the brush delivers a repeatable scratch pattern on panels, mouldings, spindles and edges without the operator compensating by hand.
The sections below work through each variable, then show how to match a brush to a board and how to spot a poor one early.
What a Woodworking Sanding Brush Does That Sandpaper Cannot
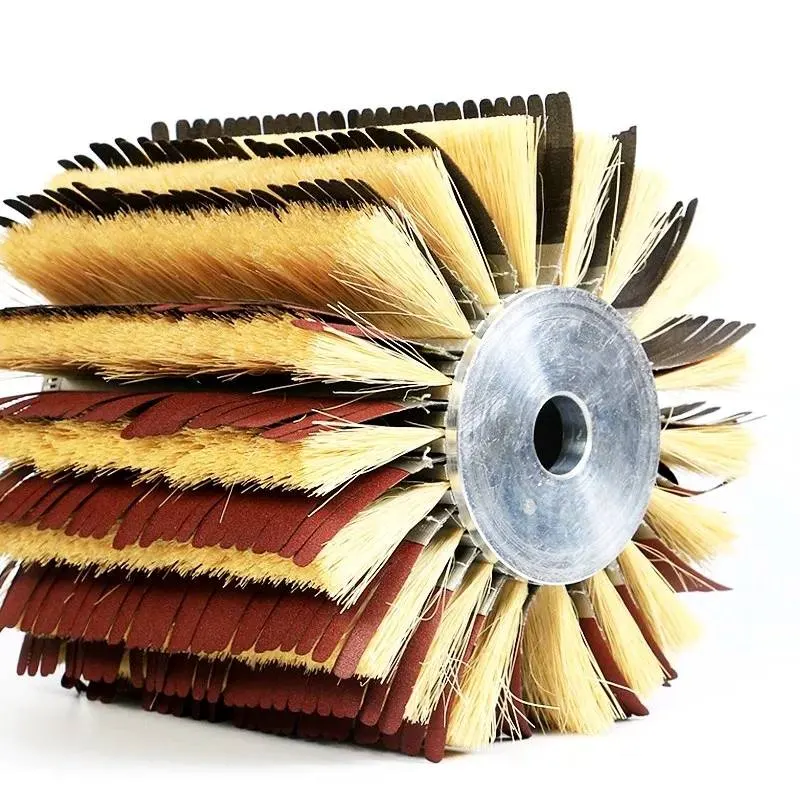
An abrasive brush sands with flexible filaments rather than a rigid backing, so it conforms to contours, reaches into recesses, and preserves edge definition where sheet abrasives either skip the detail or grind it flat.
A belt sander holds even contact on a flat plane and levels a wide panel efficiently, but push it into a cove, a raised panel groove, or a turned chair leg, and the result is missed detail or a rounded-over edge. Because filaments bend individually, each tip makes a small, repeatable cut at a slightly different angle, spreading the load across many contact points instead of the single contact line of a coated abrasive sheet. It still follows the surface you already have, so it will not flatten a warped panel.
The Specifications That Separate a Good Brush From a Cheap One
Five specifications decide whether a brush works to your board or against it: abrasive type and grit range, filament density, trim length, core construction, and the maximum speed the brush survives without shedding filaments or losing balance.
| Specification | What it changes | What to confirm before ordering |
| Abrasive type | Cut rate and scratch pattern | Abrasive against board hardness |
| Grit range | Stock removal versus finish quality | Full range, not only standard grades |
| Filament density | Cutting force and heat dissipation | Density in filaments per unit area |
| Trim length | Recess reach and contact pressure | Trim length matched to profile depth |
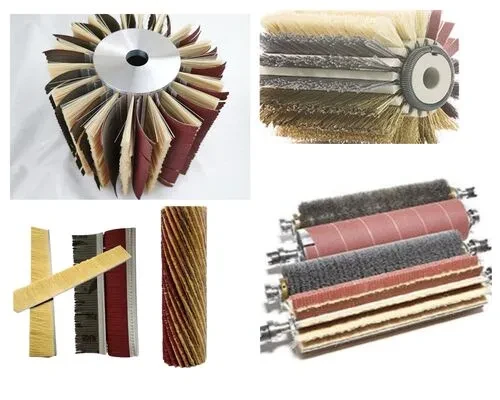
| Core construction | Contact stability across the face | Rigid, segmented or flexible; balance at speed |
Abrasive Type and Grit Range
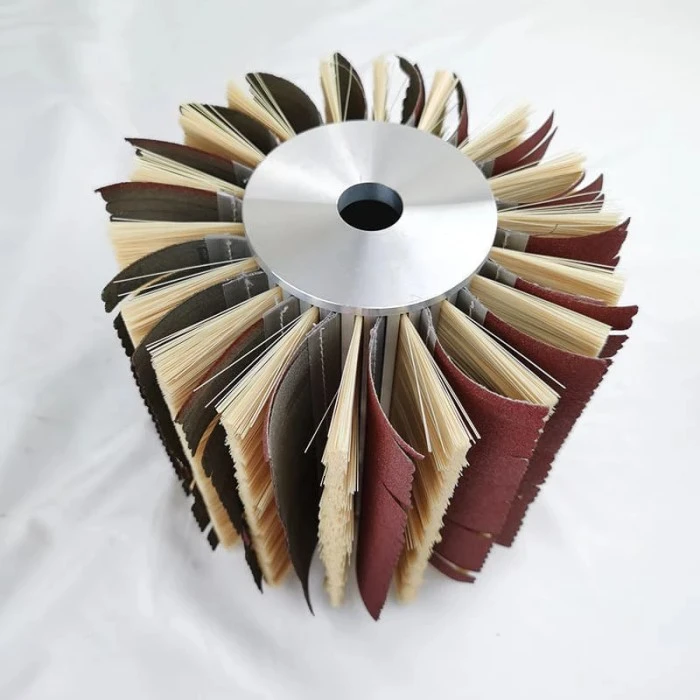
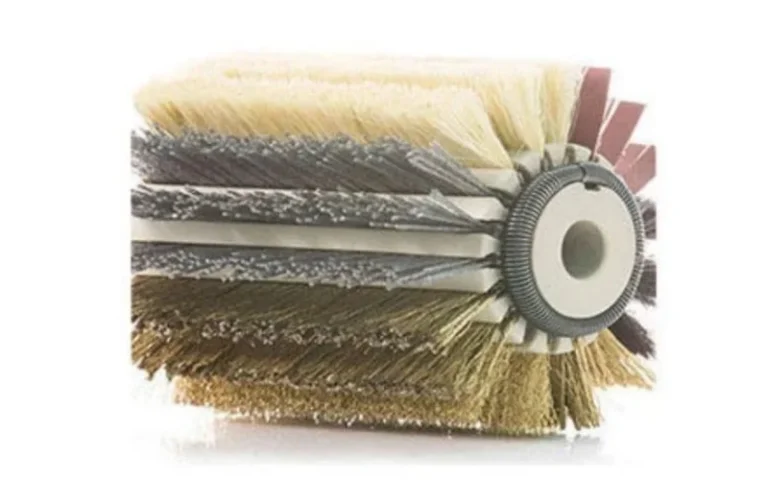
Impregnated filament, the standard construction of an abrasive nylon brush, cuts continuously through the filament body. A sandpaper brush carries abrasive strips or flaps on stiff sisal or nylon bristles instead, which suits edge rounding, primer scuffing and distressed finishes. Grit follows the P-marked scale set by the FEPA coated abrasive standard, so ranges such as P80 to P600 are quoted rather than single numbers. For wood, P80 to P120 levels rough stock, P150 to P180 prepares for stain, and P220 to P320 scuffs between sealer coats. Step up gradually, since jumping from P80 to P220 buries coarse scratches that telegraph through the topcoat.
Filament Density, Trim Length and Core Construction
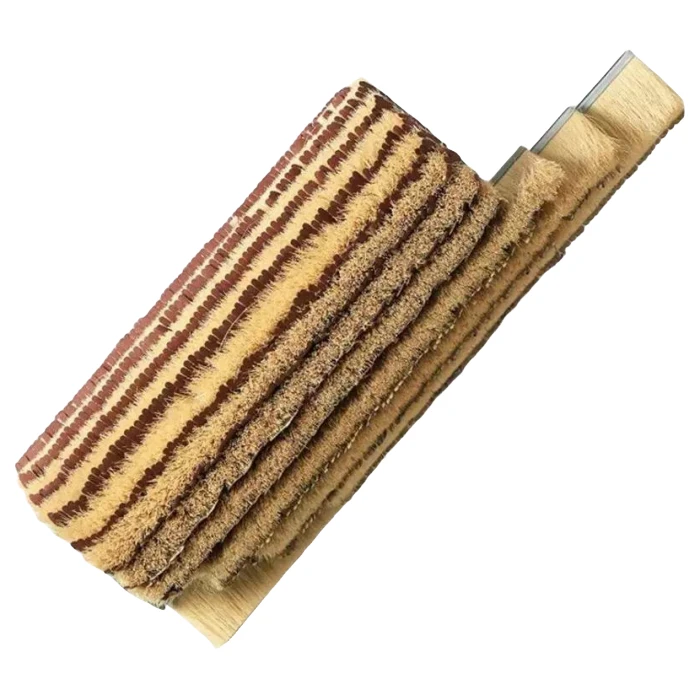
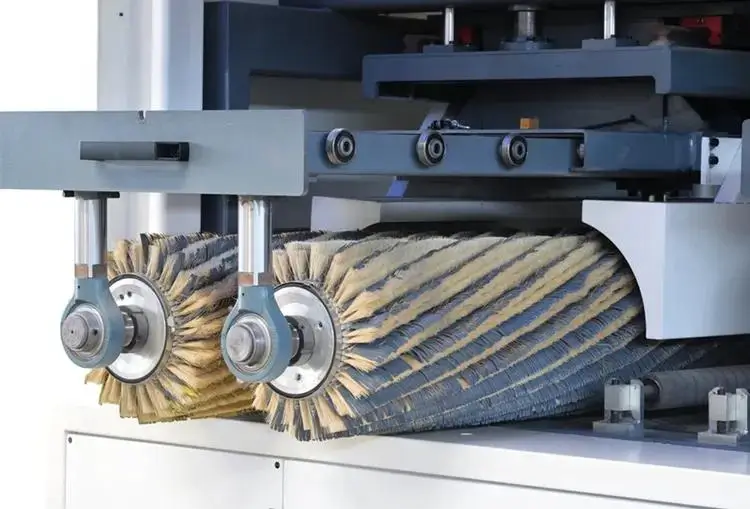
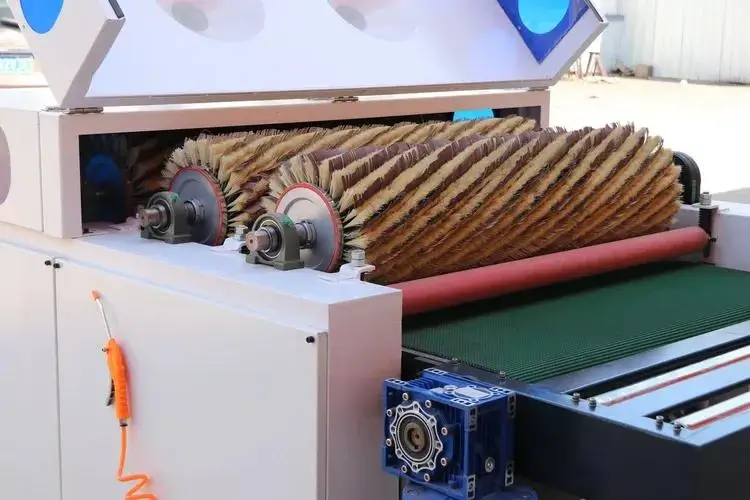
A dense trim puts more contact points on the board, cutting faster but generating more heat and loading on resinous timber. A longer trim lets filaments deflect, so a sanding brush roller follows deep profiles without cutting into the surrounding face. Core design decides how much filament reaches the panel: solid cores hold a wide face steadily, while flexible cores wrap contours if density prevents flutter. On a cylindrical brush running across cabinet doors, check contact pressure at the ends of the face, because edges wear first and round corners before the centre changes. Verify arbor size, working envelope, and rated speed before installation, and treat run-out as the failure mode that makes operators add pressure.
Matching Grit and Brush Style to Your Wood and Finish Stage
Match the brush to the defect you must remove first, then to the finish you intend to apply. Hardwoods respond to silicon carbide and slightly coarser grades, while softwoods and composite panels need finer, more flexible filament to avoid burnishing.
| Material and stage | Softwood (pine) | Hardwood (oak, maple) | MDF and plywood |
| Rough sanding | P100 to P120 | P80 to P100 | P100 to P120 |
| Intermediate smoothing | P150 to P180 | P120 to P150 | P150 to P180 |
| White wood before stain | P180 to P220 | P150 to P180 | P180 to P220 |
| Sealer or primer, scuffing | P240 to P320 | P220 to P280 | P240 to P320 |
Profiles, Edges and Reclaimed Surfaces
Flat parts reward density and a stable face, while profiled parts reward flexibility and reach. A brush expected to do both wears unevenly and produces edge sanding that rounds corners instead of cleaning them, because one contact geometry cannot serve a wide panel and a narrow corner. Use a denser trim for panel faces and a longer-trimmed brush for edges, grooves and mouldings. Reclaimed timber needs coarser grades at low density and a light pass to clean the surface without stripping the patina, while coated parts need finer grades at controlled pressure so the film is scuffed but not broken through. On cabinet doors, a wood furniture polishing brush covers the inter-coat scuff and the final cleaning pass without altering panel dimensions.

Warning Signs of a Poor Brush and How to Correct Them
A brush fails long before it stops cutting. Edge rounding, uneven gloss, raised fibre, pitch loading, and heat marks are all symptoms of a specification problem, and each has a different cause, so correcting the wrong variable wastes time and tool life.
Wear starts at the edges, where filament shortens against corners and dense grain, and that change then alters how the brush touches the rest of the board.
| Symptom | Likely cause | Corrective action |
| Edges rounded, face still unsanded | Filament too short at the ends | Narrower face or a separate edge brush |
| Uneven gloss under raking light | Pressure inconsistent across the face | Check run-out, review feed rate |
| Raised fibre after coating | Surface closed by burnishing rather than cutting | Reduce pressure, use a more open trim |
| Resin or pitch loading | Dense trim trapping softened resin | Open trim pattern, lower contact pressure |
| Heat marks near knots or glue lines | Excessive dwell time or filament pressure | Reduce pressure, raise feed rate |
Confirm mounting and run-out before the first part, run a scrap sample of the same species to verify the grit sequence and contact pattern, and inspect the tips of the face after the first shift, since that is where the wear signature shows first. Dust control matters just as much: airborne wood dust is a health hazard, and the fine fraction from brush sanding is what reaches the lungs, so extraction at the machine and appropriate respiratory protection belong in the specification.
Maintenance, Service Life and Cost Per Part
Service life depends on grit, contact pressure, and line speed far more than on price, and a brush on a reusable core whose abrasive strips can be replaced typically outlasts several fixed units, so the figure worth tracking is cost per part rather than invoice price.
Clear embedded dust and resin from the filament after each shift with a stiff brush or compressed air, because a loaded brush cuts with less force and more heat. Inspect for flared or missing filaments before each run, and track life against board count rather than calendar time, since a well-specified brush normally runs for several months to a year.
FAQ
Q1: Can a sanding brush replace sandpaper for a complete project?
No, and specifying one on that assumption will cost you time. Brushes follow the surface already present, so they will not flatten a twisted board or level a glued-up panel. Where a brush is superior is everything a flat abrasive cannot reach: mouldings, spindles, carvings, groove interiors and edge rounding.
Q2: How do I know when a brush needs replacing rather than resetting?
Watch the contact pattern, not the calendar. Once the filaments at the ends of the face have shortened enough that corners start rounding before the centre has finished sanding, the brush is at the end of its useful life. Flared filaments, falling stock removal, and heat marks in the same place on every part are the other signals.
Q3: Can the same brush be used on wood and on metal?
Sometimes, but it is a compromise. Adjusting grit and filament stiffness lets one brush handle wood grain sanding and light metal deburring. The catch is contamination: metal particles embedded in the filament will scratch wood on the next job, and a brush used on metal loses the fine, even cut that wood finishing depends on.