Finishing shops lose the most time on the parts that should sell the product: moldings, raised panel doors, turned legs, and curved components. A wide belt levels a flat panel in seconds, but the moment the geometry becomes interesting, the abrasive stops reaching the surface it is meant to cut. Crews fall back on hand sanding, quality drifts with each operator, and the finishing schedule slips. An abrasive wood brush exists to close exactly that gap, yet most brushes are bought as generic consumables rather than specified for the profiles they must actually follow.
Custom abrasive wood brushes for profiled and curved surfaces work because their flexible filaments contact the work at hundreds of independent points, conforming to recesses and contours that rigid abrasives bridge or round. Getting that result consistently requires customizing three variables to the profile: trim length matched to recess depth, filament construction matched to the finishing stage, and grit and density matched to the wood species and the edge definition the part demands. Specify those against the actual geometry, and a brush finishes what flat abrasives cannot.
The sections below explain why the geometry demands a brush, which construction options are worth customizing, how to set grit, density, and speed, and how to write a specification a supplier can build and a trial can verify.
Why Flat Abrasives Fail on Profiled and Curved Wood
Rigid abrasives cut by pressing a flat, stiff surface against the work, so on a shaped part they only touch the high points, round the crisp edges, and leave recesses untouched, while a brush cuts at many independent contact points that bend into the geometry instead of flattening it.
The Contact Geometry Difference
A belt or disc presents a single contact line held at fixed pressure, so any variation in the part becomes a variation in the cut. A brush works differently: each filament or abrasive strip deflects individually, making a small cut at its own angle. The brush cuts by speed rather than pressure, which is why the inside of a cove receives much the same action as the flat face beside it.
The Cost of Getting It Wrong
When profiles are finished with flat abrasives, the defects are predictable. Raised edges get rounded past tolerance, grooves keep their mill glaze and reject stain, and operators spend unpånned hours hand sanding to catch up. The rework usually costs more than the brush that would have prevented it.
When a Standard Brush Stops Working
Catalogue brushes assume a moderate profile, are a common species, and have a normal line speed. Once recesses deepen, species vary, or feed rates rise, a standard trim and density leave part of the geometry untouched. That is the point where customization stops being a premium and becomes the specification.
Custom Construction Options for Profiled and Curved Work
Three construction variables decide whether a brush follows the profile: the filament or strip type sets the cutting character, trim length sets how deep the brush can reach, and diameter and slot count set how flexible the face behaves at speed.
Filament and Abrasive Strip Configurations
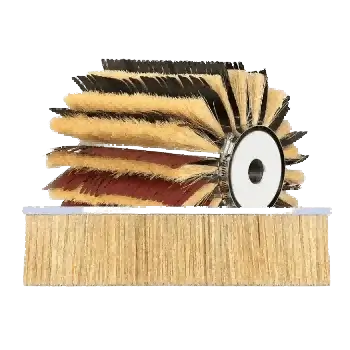
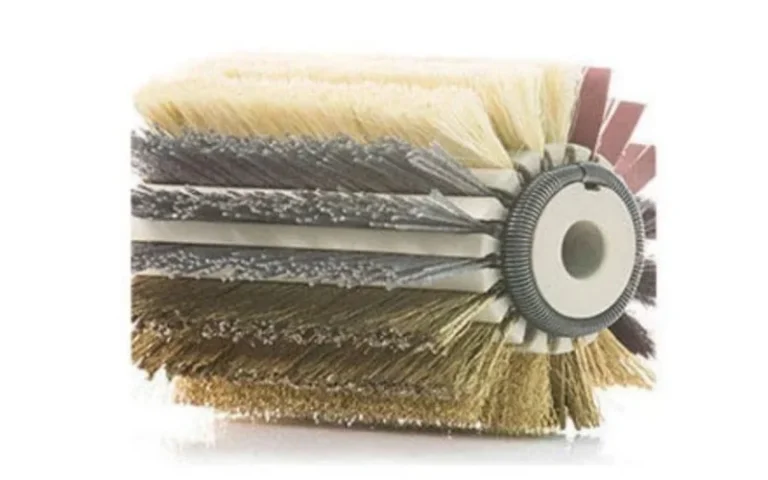
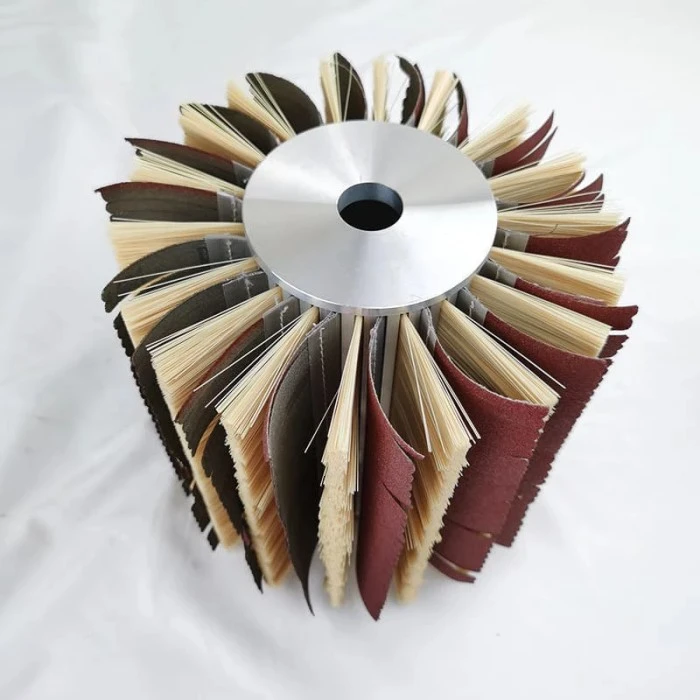
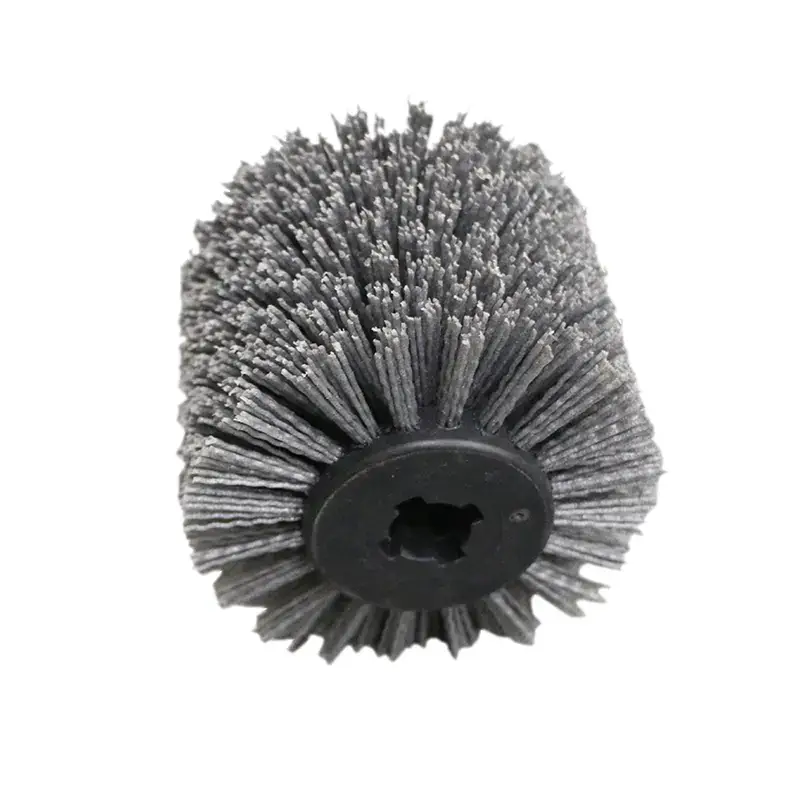
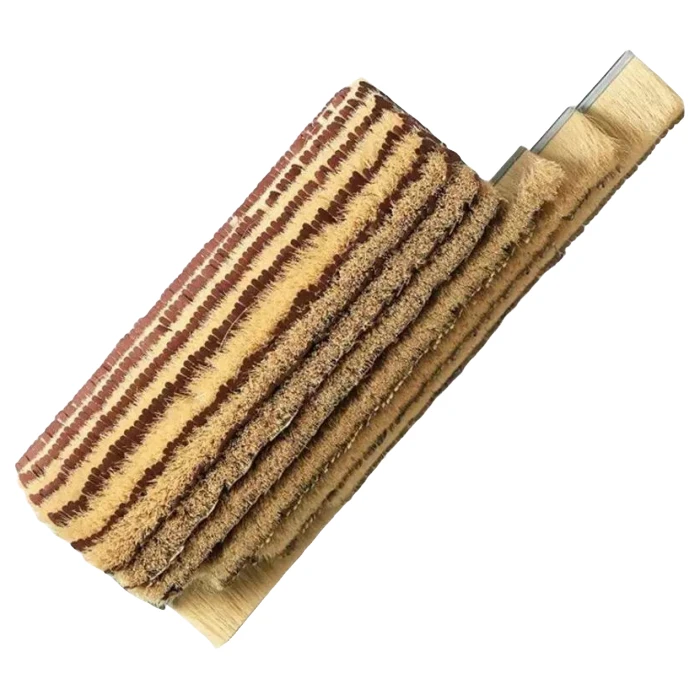
An impregnated abrasive nylon brush carries grain through the filament body, so fresh abrasive stays exposed as tips wear, which suits continuous production on profiles. A sandpaper strip brush mount is coated with abrasive on sisal or stiff nylon backing, cutting more sharply for edge easing, primer scuffing, and distressed textures. Many custom brushes combine both in one roller for two-stage work.
Trim Length Matched to Profile Depth
Flat panel work usually runs 25 mm to 40 mm of trim, keeping the face stiff and the cut consistent. Deep recesses, such as raised panel grooves and carved details, commonly need 50 mm to 80 mm of trim so filaments can bend into the feature without the hub bottoming out. Trim must be read with filament diameter, since a long trim on thick filament behaves stiffly again.
Diameter, Slot Count, and Flexibility
Slot count controls stiffness. Wider slots create firmer strips that are suitable for flat stock and raw wood, while more slots with longer trim produce a softer face that can flex into deep profiles. Outer diameter sets surface speed at a given rpm, so diameter and speed should be chosen together rather than copied from an existing tool.
Matching Grit, Density, and Speed to the Profile
Grit follows the wood species and the stage the part is entering, density follows the edge definition the profile demands, and speed stays moderate so the filaments keep the flexibility the profile requires.
Grit by Wood Species and Stage
Grades follow the P-marked system maintained by the FEPA abrasives federation, and the relationship between grit number and particle size set out in the standard grit size scale explains why stepping from P80 straight to P220 buries coarse scratches that only surface after the topcoat.
Density and Edge Definition
A dense face cuts faster but concentrates pressure on corners, rounding the detail the profile exists to show. For sharp-edged work, the usual compromise is medium density with longer trim, letting filaments deflect at the corner while the flat areas stay covered. Specifying density without stating the measurement method makes quotations incomparable.
Speed, Penetration, and Rotation
A contact depth of 1 mm to 3 mm is usually enough, because pressing harder wears the abrasive without cutting faster. Moderate spindle speed preserves filament flex, and alternating rotation between heads prevents the scratch pattern from laying in one direction, which matters on visible surfaces.
Applications Across Profiled and Curved Wood Parts
The same brush technology serves three recurring part families: long moldings that need profile consistency, paneled doors that mix flats with deep features, and turned or curved components that no flat abrasive can follow at all.
Mouldings and Architectural Millwork
Crown, casing, and base profiles run continuously through brushing heads, where consistency across thousands of linear feet is the requirement. Strip brushes on predictable-wearing backing allow production plans to adjust based on measured trim loss rather than sudden quality drops.
Cabinet Doors and Raised Panels
Doors combine a wide flat field, a raised bead, and a deep gutter, which usually calls for a sequence: a firmer brush for the field and a longer-trim, softer brush for the profile. Alternating head rotation keeps the finish even across the transition.
Turned Parts, Curved Components, and Distressing
Spindles, curved rails, and shaped chair parts rely entirely on filament conformity. Coarse grits at lower density also produce controlled distressing and an open-grain texture on rustic furniture, a decorative effect flat sanding cannot imitate.
How to Specify and Validate a Custom Abrasive Wood Brush
A custom brush only delivers when the specification is written down, and the design is proven on the line, because two brushes with the same grit can behave differently once trim, density, and speed differ.
What Belongs in the Specification
- Wood species and the defect or stage the brush must address
- Abrasive type and grit range, with the standard referenced
- Filament diameter and density, with the measurement method
- Trim length and usable wear allowance
- Outer diameter, working width, and slot count
- Bore, keyway, or shaft end form, plus rated maximum speed
Core, Bore, and Mounting Checks
Arbor sizes of 25.4 mm to 50 mm cover most spindles, and bore, keyway, and shaft end form should be confirmed before quoting. Balance and runout belong in the specification too, because an unbalanced brush leaves a periodic pattern that is easily misread as a feed problem.
A Trial That Proves the Design
Run the custom brush on the same station and feed rate for at least 2,000 parts. Record finish consistency at the start and end of each shift, measure edge radius on sample profiles, track trim loss weekly, and log rejects by defect type. Comparing cost per thousand acceptable parts settles the design question with data.
FAQ
Q1: How long do abrasive wood brushes last on profiled work?
Brushes for working profiles generally deliver 100 to 150 operating hours in handheld tools and several months in automatic machines, depending on grit, feed rate, and pressure. Because brush cutting works by speed rather than pressure, wear is gradual, and trim length measured monthly at three points gives a reliable replacement signal before quality drifts.
Q2: Can a brush replace hand sanding on curved parts?
On turned, carved, and molded parts, yes, in nearly all cases, and it does so more consistently than hand methods. What a brush will not do is calibrate: it follows the surface it meets rather than flattening it, so warped stock still needs a belt first. Most shops keep both, using the brush for everything shaped and coated.

Q3: What information does a supplier need to quote a custom profile brush?
A part drawing or sample with the deepest recess dimension, the wood species, the finishing stage, the machine’s spindle speed and arbor size, and the working width to be covered. With those six items, a supplier can propose trim length, density, and grit, and deviations become visible at inspection instead of on the line.