
Fix Lint Buildup on Your Abrasive Roller Brush

Abrasive Roller Brush lint buildup cuts performance. Clean dry-to-wet each shift, extract fiber at source, and replace worn brushes to restore cut and fabric uniformity.

Abrasive roller brushes drive fabric raising, sueding, and surface finishing, yet they are also the components most likely to be silently compromised by their byproduct. Loose fiber is generated continuously at high volume, and part of it always stays on the tool that created it. Once fiber packs between filaments, the brush stops cutting and starts rubbing.
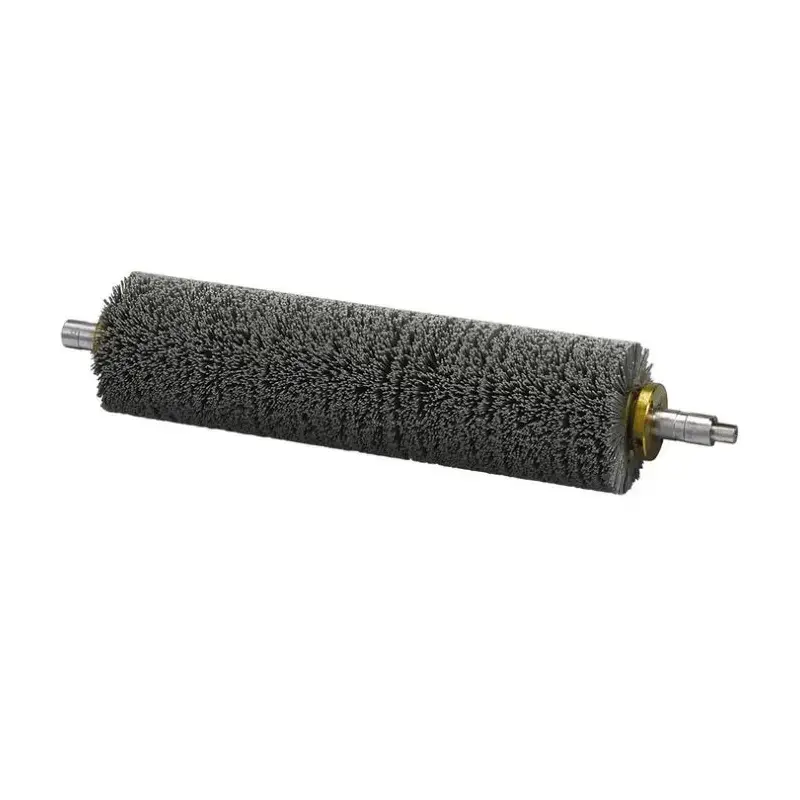
Abrasive roller brushes

The solution has three parts: clean the brush on a fixed shift schedule in the correct dry-to-wet sequence, capture dislodged fiber with extraction placed inside the abrasion zone, and replace the brush when filament length or cut rate crosses defined limits. Cleaning alone rarely holds, extraction alone never cleans the filament, and replacement without either wastes service life. Together, they restore a consistent cut and eliminate lint transfer marks on the fabric.

The sections below cover diagnosis, cleaning procedure, extraction design, specification, and replacement thresholds.

Why Abrasive Roller Brushes Accumulate Lint

Abrasive roller brushes accumulate lint because the same action that lifts and cuts surface fibers also shears short fiber fragments free, and those fragments cling to the filament tips that produced them. Within a few production hours, the trapped fiber compacts into a dense mat, abrasive grit becomes buried, and the brush turns into a buffing pad that redistributes lint across the fabric.

A loaded roller mat holds three materials: regenerated short fiber sheared from the fabric face, spent abrasive particles and filament debris worn from the brush, and process residue such as size, oils, or unfixed dye. Bonded under heat and pressure, the layer acts as a compressible cushion, absorbing the engagement depth that should reach the fabric. The cycle then compounds: the brush contacts fabric through lint instead of abrasive filament, cut depth falls, operators raise pressure, and more debris and heat follow.

The Raising and Suing Mechanism Behind Lint Generation

Fabric raising, also called napping, pulls individual fibers out of the yarn structure to build a pile layer that traps air and softens the hand. Sueding abrades fiber ends rather than lifting whole fibers, creating a short peach-skin surface. Both processes are forms of controlled abrasion, and both are designed to shed fiber. That separates abrasive rollers from cleaning brushes on the same line: a nylon cleaning brush removes material already on the surface, while an abrasive roller creates the debris it must then survive.
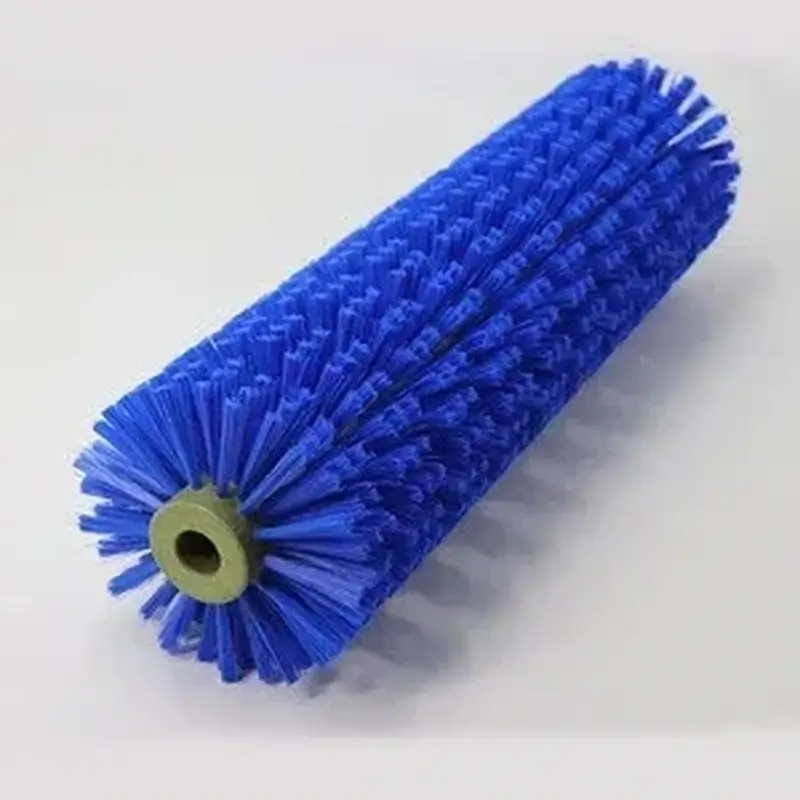
nylon cleaning brush

Loading, Glazing, and Grit Burial

Not all buildup looks alike, and the form determines the remedy. Superficial fuzz is a loose layer that responds to routine cleaning. A loaded zone is packed, felted fiber concentrated where tension or engagement is highest, often mid-width on wide rollers. Glazing is more serious: filament tips are polished smooth, and abrasive grain is buried or worn flush, so the brush looks clean but no longer cuts. Glazing is a wear state, and cleaning will not recover it.

Silicon carbide retains its cutting edge far longer than softer media, which is why abrasive nylon outlasts sandpaper-wrapped rollers. As an abrasive nylon filament wears, fresh grain is exposed along its length, so the brush continues to cut through most of its life before finally glazing over.

How to Recognize Lint Buildup Before It Damages Fabric

Lint buildup shows up in two places: on the fabric leaving the machine and on the brush itself. Fabric signals are streaking, banding, patchy hand feel, and re-deposition marks; brush signals are uneven bristle wear, balled fiber at the core, elevated roller temperature, and increased vibration. Any one signal warrants inspection before the next run.

Early detection pays, because buildup defects are rarely caught at the surrounding head. They surface at final inspection as banded hands feel, or they transfer onto stenter rollers and guide surfaces and reappear as marks on later fabric.

Symptoms on the Fabric

  • Streaks or banding running in the machine direction, indicating localized loading
  • Patchy fuzz where part of the width is raised and part stays flat, indicating mid-width deflection
  • Glossy areas, indicating reduced engagement depth from a compressed lint cushion
  • Lint re-deposition marks, where removed fiber has been pressed back onto the face
  • More false defect calls at inspection from airborne lint settling on the goods

Symptoms on the Brush and Machine

SignalLikely causeImmediate action
Fiber balled around the coreLoading from weak extractionStop, dry-extract, and comb the filament
Filament tips are shiny, with no visible grainGlazing from wear or overheatingMeasure cut rate; schedule replacement
Bristle length uneven across the widthLocalized wear from misalignmentCheck alignment and engagement uniformity
Bearing housing hotter than normalFriction from loading or failing bearingInspect bearing play; clean or replace

Daily and Shift-Level Cleaning Procedure

Clean on a fixed schedule, not on appearance. The sequence runs dry to wet: isolate and lock out the machine, remove loose fiber with extraction or directed compressed air, comb compacted fiber out of the filament, apply neutral detergent only where oily or dye residue requires it, dry completely, then inspect filament length and grain condition before restarting.

Dry steps come first because wetting a loaded brush before removing the fiber mat drives contamination deeper into the filament pack, where it dries into a hard crust that blocks abrasive contact.

Step-by-Step Cleaning Sequence

  1. Isolate the drive and apply the approved lockout procedure. Never clean a roller that can rotate.
  2. Remove dry, loose fiber with extraction at close range or compressed air directed away from the brush.
  3. Comb compacted fiber out with a soft picker tool, working along the filament direction. Quick, but it delivers the largest cut recovery.
  4. Inspect the full working width, checking mid-width and selvedges where loading concentrates.
  5. Apply neutral detergent in warm water only where oily or dye residue is present; work it through with a soft brush, then rinse.
  6. Avoid aggressive solvents on bonded construction, since they attack the filament-to-core bond.
  7. Dry completely to protect the core from corrosion and prevent a moisture film from re-attracting fiber.
  8. Record filament length, uniformity, and grain condition against the previous inspection.

Wire card clothing needs a different routine: strip embedded fiber with a fine-toothed card cleaning roller to restore wire tip alignment. Wire that has taken a permanent set cannot be recovered by cleaning.

Frequency and Cleaning Triggers

IntervalTaskTrigger threshold
Each shift, including mid-shiftDry extract and comb the filamentAlways, regardless of appearance
Every 4 to 8 running hoursFull-width inspection of filament and coreLint-heavy substrates
WeeklyFilters, ducts, differential pressurePre-filter drop beyond specification
MonthlyBearing lubrication, alignment, temperature trendPer manufacturer interval

Set frequency by substrate and volume, not one plant-wide number. Plants running fleece, flannel, and heavy denim load brushes faster than plants finishing tight, low-shed woven goods.
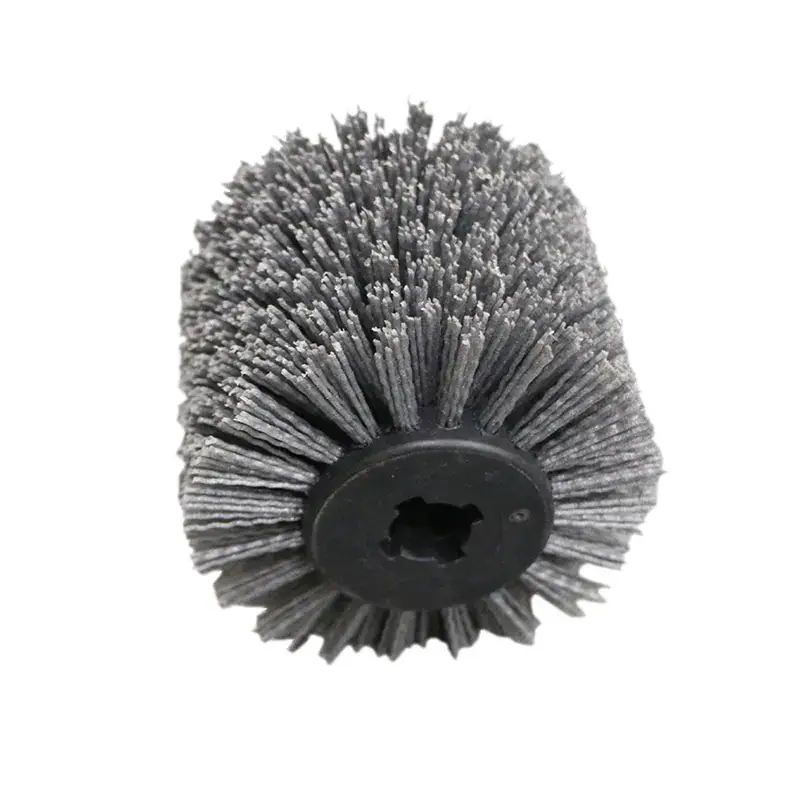
tufted blanket-washing brushes

Optimizing Dust Extraction and the Finishing Line

Cleaning the brush solves half the problem, because dislodged fiber returns to the line unless extraction captures it at the source. Extraction must sit inside the abrasion zone, ducts must be sealed, and filters must be maintained to specification; otherwise airflow decays and lint settles on the next roller instead of entering collection.

Weak extraction is the most common root cause of recurring buildup. When airflow falls, the hood no longer carries debris away, and material accumulates on filaments, guide surfaces, and the frames and bearings around them. That accumulation also insulates motors and blocks sensors, a leading cause of unplanned downtime and a recognized fire risk. Because airflow loss is progressive, it stays invisible until quality drops, so logging filter differential pressure every shift turns extraction into a measurable process parameter.

Extraction System Components and Maintenance

ComponentFunctionMaintenance focus
Extraction hoodCaptures fiber at the abrasion zoneVerify clearance and full-width coverage
DuctingTransports fiber to collectionCheck seals for leakage that reduces velocity
Pre-filterRemoves bulk fiberInspect pressure differential every shift
Fine filterCaptures residual dustReplace when outlet pressure drifts beyond tolerance
Fan and driveMaintains design air velocityCheck impeller buildup and imbalance

Positioning the Brushing Head to Stop Re-Deposition

Placement in the sequence determines what brushing accomplishes. The most consequential spot is immediately after the sueding or emery heads. Abrasive sueding leaves a large volume of short fiber lying loosely on the surface, and a brushing pass with extraction there prevents debris from reaching the stenter, where it deposits on rollers and guide surfaces and ultimately transfers back onto fabric as marks.

Other placements serve other ends. Brushing before coating, printing, or lamination cleans the surface mechanically, since adhesion failures trace back to contamination more often than adhesive chemistry. Before and after softening, brushing opens the surface so softening acts on individual fibers rather than a compacted sheet. Before the inspection table, a low-pressure pass reduces airborne lint and false defect calls.

Cleaning Adjacent Printing and Dyeing Equipment

In rotary screen printing, blanket cleanliness is essential to a clear image, and the open spiral design of tufted blanket-washing brushes exists to keep the brush from loading with ink while making cleaning easier and cutting cycle downtime. In dyeing and wet finishing, priorities shift: filaments must resist moisture, cores must resist chemical attack, and anti-static properties matter where dry friction builds charge that attracts dust. These brushes generally need rinsing rather than combing, followed by complete drying.

Choosing an Abrasive Roller Brush That Resists Loading

Specification decisions at purchase determine how much buildup a brush accumulates over its life. Open-web filament construction, appropriate grit for the target finish, uniform density, and spiral rows that move debris outward all reduce loading and shorten cleaning time, making selection as important as maintenance.

Grit, Filament, and Density Comparison

Abrasive filament typeGrit rangeCutting characterLint behavior
Silicon carbide abrasive nylonFine to coarseSharp, durable cut across filament lifeFresh grain exposed as filament wears
Aluminum oxide abrasive nylonMedium to coarseSofter cut, suits blended substratesSlower cut, moderate loading
Ceramic abrasive nylonMedium to fineConsistent cut on hard fabricsResists glazing at high speed
Emery roller surfaceCoarseAggressive material removalHeavy debris loads quickly without brushing behind it
Wire card clothingNot grit-basedLifts and aligns fibersRequires wire stripping, not wet cleaning

Dense fill gives uniform surface development but packs debris faster, while open-web construction trades some aggressiveness for clogging resistance, which suits high-lint operations.

Core, Spiral, and Mounting Design

Spiral rows present filament progressively and let debris migrate outward along the helix, reducing packing at mid-width. Two-way spirals correct belt or fabric tracking and apply even tension. Straight rows are simpler and suit dimensionally stable woven goods but concentrate debris in bands.

Core choice follows the environment: stainless steel or aluminum resists corrosion in wet areas, while standard steel suits dry lines. On wide machines, a one-piece shaft can deflect at mid-width under high pressure, so a heavier shaft or segmented arrangement should be specified. Confirm mounting and trim against the actual machine before ordering, since retrofits often need custom shaft, keyway, or trim specifications best resolved at purchase.
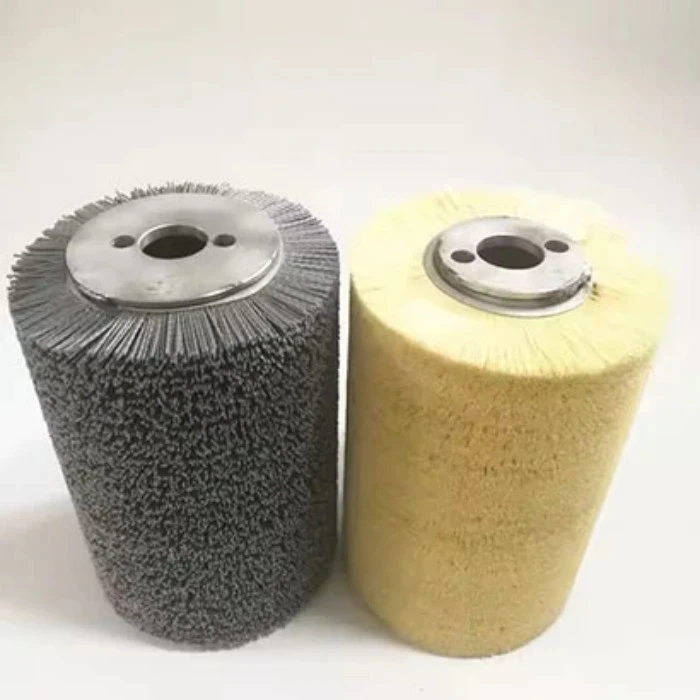
abrasive rollers

Wear Limits, Replacement Timing, and Prevention

Replace an abrasive roller brush when filament length falls to roughly 70 percent of the original, when the cut rate declines at unchanged settings, or when vibration and temperature rise without mechanical explanation. Cleaning stops helping at that point because the limitation is worn grain and shortened filament, not contamination.
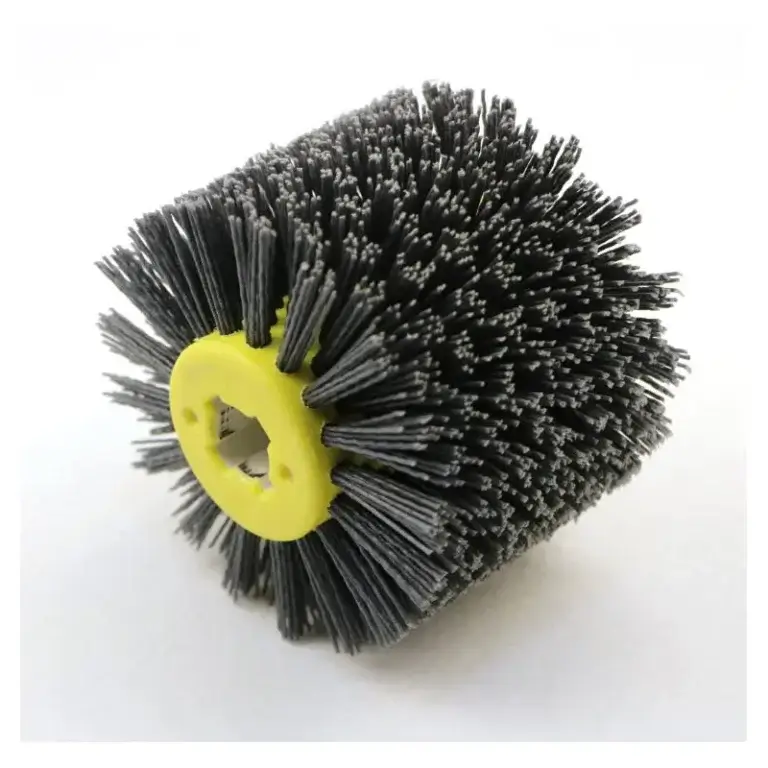
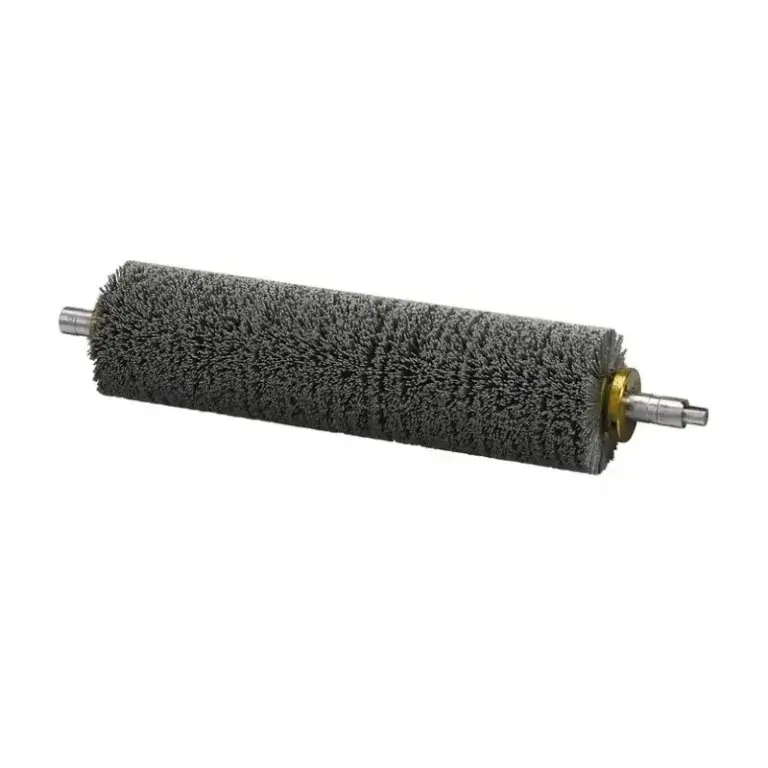
Replacement Indicators and Lifespan Benchmarks

IndicatorThresholdInterpretation
Filament lengthAbout 70 percent of the originalEngagement cannot reach deep enough for uniform fiber lift
Filament uniformityVariation beyond 20 percentLocalized wear; expect banding
Cut performanceReduced development at the same settingsGrain dulled or glazed
Filament conditionPermanently bent, no spring backStructural failure
BearingsRadial play beyond spec, housing hotWear accelerated by fibrous contamination

As a planning baseline, nylon-backed brush rollers in normal textile use typically run 6 to 12 months, while silicon carbide abrasive rollers under disciplined conditions can reach 2 to 3 years. Replacing main suede brushes earlier than expected often recovers quality faster, because a slightly worn brush produces inconsistent fuzz long before it looks exhausted.

Operating Habits That Slow Buildup

  • Keep engagement depth and pressure within specification; excess pressure raises heat and debris without improving the cut.
  • Hold fabric tension stable, since variable tension concentrates loading in loose zones.
  • Run a tracking check at the start of production to catch misalignment before a full lot is processed.
  • Control roller temperature, as sustained overheating permanently deforms filament.
  • Prepare incoming fabric properly, since residual size, oils, and loose dye block abrasive contact.
  • Change one variable at a time when troubleshooting so the cause of a solution is known.

Frequently Asked Questions

Q1: How often should an abrasive roller brush be cleaned?

Dry extraction and combing belong to every shift, and often mid-shift on high-shedding substrates, with a full-width inspection every 4 to 8 running hours. Set the final interval based on the measured loading rate, not a plant-wide rule.

Q2: Can increasing brush pressure clear a lint buildup?

No, and it usually worsens the problem. Higher pressure compresses the lint mat against the fabric, raises friction and heat, and generates more debris. Please remove the buildup first, then restore the engagement depth to the specified level.

Q3: Does lint buildup on the brush affect fabric strength and pilling?

Yes. A loaded brush cannot hold uniform engagement, so abrasion concentrates unevenly. That produces patchy development, and in overworked zones it weakens fabric and increases pilling after use.


Share:

Post Category

Contact Us

Related Products

Scroll to Top

GET A QUOTE

Fill out the form below,  and we will be in touch shortly.

Custom Solution

Drag & Drop Files, Choose Files to Upload