
Grit Selection for Abrasive Nylon Brushes: The Overlooked Variable That Drives Cost and Quality
Why Mismatched Grit Creates Downstream Costs and Rework
Grit selection is the single most overlooked variable in abrasive brush applications. Walk through any production woodworking or metal fabrication shop, and you will find operators running the same brush for every job because “it still cuts.” What they miss is that a mismatched grit is either eating through material faster than necessary, leaving scratch patterns that telegraph through the finish, or both. The cost shows up downstream: rejected parts, excessive rework hours, and brushes that wear out twice as fast because they are doing the wrong job.
The problem gets worse when specifications are handed down from procurement without input from the shop floor. A purchasing manager who orders 120-grit brushes because they are cheaper per unit may not realize those brushes double the time the finishing department spends on each part. A sanding brush for a grinder is not a commodity item where one grit fits all. It is a precision tool whose abrasive grade determines cycle time, surface roughness, and final coating adhesion.
n.
Three Factors That Determine the Right Grit for Your Application
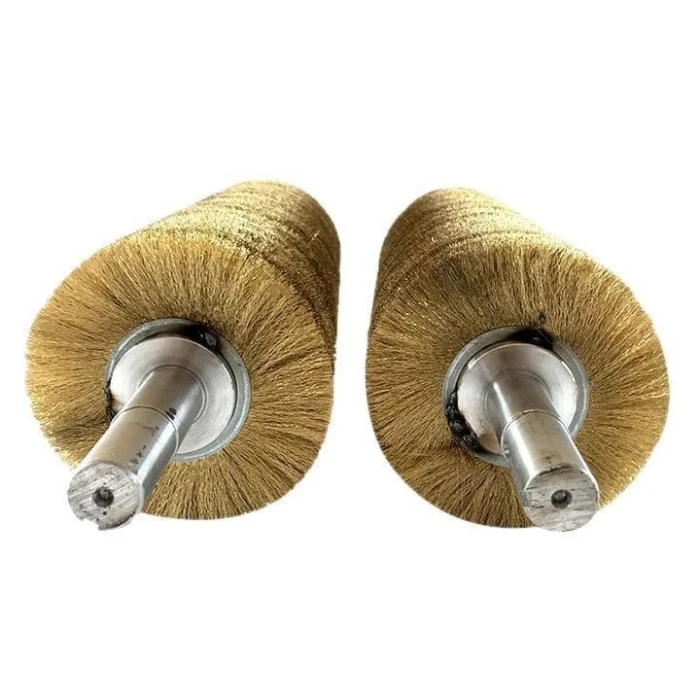
The right grit for your sanding brush for a grinder depends on three factors: the material you are working with, the current surface condition, and the finish grade you need to achieve. For rough stock removal on hardwood, start at 80 to 100 grit. For stain-ready wood surfaces, finish at 150 to 180 grit. For clear-coat preparation, end at 220 grit or higher. For metal deburring and rust removal, a 60 to 120 grit abrasive nylon brush removes scale and oxide efficiently. For cosmetic metal finishing, progress through 180 to 320 grit. The rule is simple: match the grit to the task, never the other way around.
A Systematic Selection Process: From Grit Size to Practical Decisions
Once you understand the relationship between grit size and surface outcome, the selection process becomes systematic rather than guesswork. The sections below break down how grit size determines material removal rate, how to match grit to specific workpiece materials, why grit progression matters more than final grit, the operating parameters that make or break your results, and the most common mistakes that cost shops time and money. Throughout this discussion, the focus remains on practical, measurable decisions that directly affect throughput and part quality.
Who Benefits: Procurement Teams and Shop Floor Operators Alike
If you are specifying brushes for a production line, the information here will help you write better purchase orders. If you are on the shop floor running the grinder, it will help you get better results with the tools you already have. Either way, the goal is the same: pick the right grit the first time and stop fighting the wrong abrasive.
How Grit Size Affects the Performance of a Sanding Brush for a Grinder
Grit Size and Its Effect on Material Removal Rate and Surface Finish
Grit size directly controls how much material a sanding brush for a grinder removes per pass and how smooth the resulting surface will be. Lower grit numbers mean larger abrasive particles, deeper cutting action, and faster stock removal. Higher grit numbers mean smaller particles, shallower scratches, and finer surface finishes. A 60-grit brush can remove 0.02 to 0.05 millimeters of material per pass on hardwood, while a 320-grit brush might remove less than 0.005 millimeters on the same material.
Abrasive Nylon Filaments vs. Wire and Sandpaper: The Flexibility Advantage
The abrasive particles in a sanding brush are embedded directly into the nylon filaments, unlike sandpaper where the grit sits on the surface of a backing material. This means the brush filaments flex during rotation, conforming to contours and uneven surfaces that a rigid disc would skip over. The filament material itself—typically nylon 612 loaded with silicon carbide or aluminum oxide—wears down gradually, continuously exposing fresh abrasive particles throughout the life of the brush.
Abrasive nylon filament brushes fundamentally differ from wire brushes. Wire filaments cut by impact and scraping. Abrasive nylon filaments cut by grinding, similar to how a grinding wheel works but with far more flexibility. This flexibility is what makes a sanding brush for a grinder valuable for contoured surfaces: the filaments reach into crevices, follow curves, and produce a uniform scratch pattern even on irregular geometries.
Grit Range Performance Summary and Application Guidance
The table below summarizes how different grit ranges perform in terms of material removal, surface roughness, and typical applications.
Real-world performance varies with filament density, rotation speed, and contact pressure. A densely filled 120-grit brush running at 2,800 RPM removes material faster than a sparsely filled 80-grit brush at 1,500 RPM. The grit number is the starting point for specification, not the whole story. The three most common metal cylinder brush applications each demand different grit and density combinations, and treating them as interchangeable leads to predictable quality problems.
Matching Grit to Material: Wood, Metal, and Composite Surfaces
Wood, ferrous metals, non-ferrous metals, and composites each respond differently to abrasive grit. Hardwood species with a Janka hardness above 1,000 Newtons (oak, maple, hickory) tolerate coarser starting grits of 80 to 100 without tearing. Softwoods under 500 Newtons (pine, cedar) require gentler starting points of 120 to 150 to avoid deep gouging. Ferrous metals like carbon steel need silicon carbide abrasives that cut aggressively without loading. Aluminum and other non-ferrous metals require aluminum oxide grit to prevent smearing and cross-contamination from iron particles embedded in silicon carbide filaments.
The abrasive type matters as much as the grit number. Silicon carbide particles are sharper and harder than aluminum oxide, making them the preferred choice for hardwoods and ferrous metals where aggressive cutting action is needed. However, silicon carbide can leave trace iron deposits on aluminum surfaces, causing galvanic corrosion over time. For this reason, aluminum oxide is the standard abrasive for non-ferrous metal finishing—it cuts cleanly without introducing contaminants that will later rust.
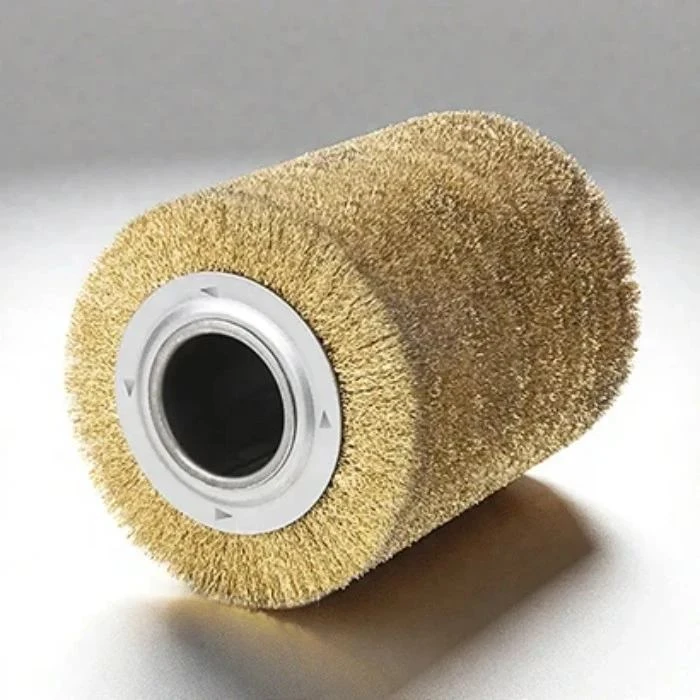
When working with a metal cylinder brush on steel surfaces, the wire filament material adds another variable to consider. Steel wire brushes operate on a different principle than abrasive nylon: they clean by mechanical scraping rather than abrasive grinding. For rust and scale removal on structural steel, a coarse wire brush paired with a separate abrasive nylon finishing brush often produces better results than trying to accomplish both tasks with one tool.
The table below provides recommended starting grit ranges for common material and finish goal combinations.
Wood surface finishing introduces an additional factor that metal processing does not: grain-raising. After the initial sanding pass, wood fibers can swell when exposed to moisture from stains or water-based finishes. A wood polishing brush with a medium grit applied after the first coat dries knocks down raised grain without cutting through the stain layer. This intermediate step often determines whether a finished panel looks professional or amateurish.
Grit Progression: The Step-by-Step Path to a Professional Finish
Why Skipping Grit Steps Ruins Surface Finish
Skipping grit steps is the fastest way to ruin a surface finish. Each grit pass removes the scratch pattern left by the previous, coarser grit. If you jump from 80 directly to 220, the fine grit will polish the peaks of the 80-grit scratches without reaching the valleys. The deep scratches remain buried under a thin layer of fine sanding, invisible until the first coat of finish hits the surface and exposes them. A proper progression follows the rule: never skip more than one grit level between passes.
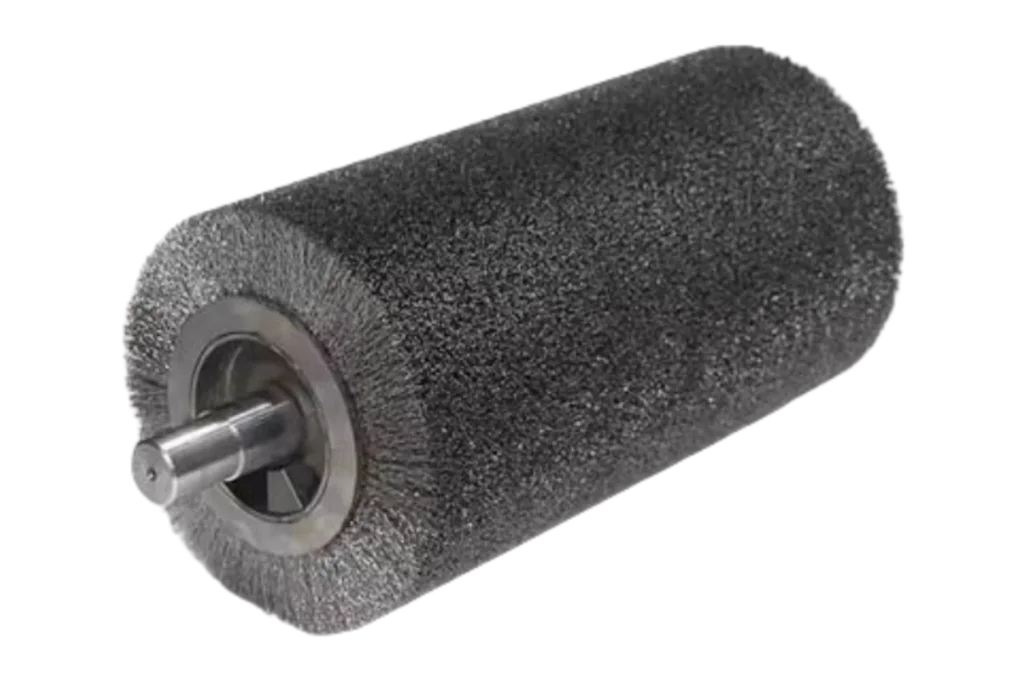
The ideal progression depends on the starting surface condition and the target finish grade. For a rough-sawn hardwood board destined for a high-gloss lacquer finish, the path looks like this: 80 grit to flatten and remove mill marks, then 120 to erase the 80-grit scratches, 180 to remove the 120-grit pattern, and finally 220 to create a surface smooth enough that scratches become invisible to the naked eye. Each step typically takes fewer passes than the one before it because the material removal requirement decreases as the surface gets smoother.
Grit Progression for Metal Surfaces: Same Principle, Different Ranges
For metal surfaces, the same principle applies but with different grit ranges. A heavily rusted steel plate might start with a 60-grit abrasive nylon brush for aggressive scale removal, progress through 120 for general conditioning, and finish at 180 or 240 depending on whether the surface will receive paint or remain bare. The progression is not optional; failing to step through intermediate grits leaves a surface that looks acceptable under shop lighting but fails inspection under the controlled lighting of a quality control booth.
For production environments running multiple shifts, documenting the grit progression, speed settings, and brush replacement intervals for each product line eliminates variability between operators. A written standard operating procedure that specifies the exact brush part number, grit, and machine settings for each stage of surface preparation pays for itself within weeks through reduced rework and fewer rejected parts. The cylinder polishing brush applications all share one requirement: consistent, repeatable results that do not depend on which operator is running the machine that day.
Bringing It All Together
Grit selection is not a one-time decision made from a catalog. It is a process variable that changes with every new material, every different surface condition, and every target finish specification. The shops that get this right treat their abrasive brushes the way a machinist treats cutting tools: they match the tool to the job, track performance over time, and replace brushes before they compromise quality.
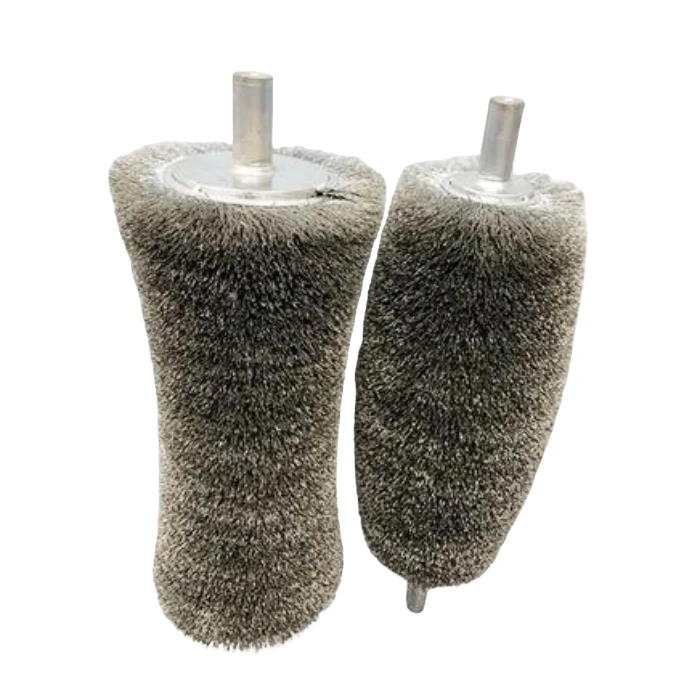
Start by identifying the material and its current surface condition. Choose the coarsest grit that removes material at an acceptable rate without leaving scratches too deep for the next progression step to erase. Step through intermediate grits without skipping levels, using dedicated brushes for each stage to prevent cross-contamination. Match the operating speed, pressure, and filament protrusion to the grit and material combination. Monitor surface quality at each stage rather than waiting until the final pass to inspect the result.
The right grit for your sanding brush for grinder will change from job to job. What stays constant is the principle: the abrasive must match the task. Everything else—cycle time, surface finish, coating adhesion, and tool life—follows from that single decision.
FAQ
What happens if I use too fine a grit on a rough surface?
Using too fine a grit on a rough surface wastes time and wears out the brush without achieving meaningful material removal. The fine abrasive particles cannot penetrate the deep valleys of the rough surface. They polish only the high spots, leaving an uneven surface with poor coating adhesion. The correct approach is to start with a grit coarse enough to level the surface efficiently, then progress through finer grits. A brush that is too fine for the job will also generate more heat from friction because the filaments skate across the surface rather than cutting into it.
Can I use the same abrasive brush for different metals without cleaning it between materials?
You should not use the same brush across dissimilar metals without thorough cleaning or dedicated brushes. Carbon steel brushes used on stainless steel can embed iron particles that later rust on the stainless surface, a phenomenon called free iron contamination. Silicon carbide brushes used on steel and then on aluminum can transfer iron residue that causes galvanic corrosion. For shops processing multiple metal types, color-coded or labeled brushes dedicated to each material family prevent cross-contamination and eliminate one of the most common causes of post-processing surface defects.
How do I know when to replace a sanding brush instead of just adjusting the operating parameters?
Replace the brush when the filament length has worn down by more than 30 percent from its original specification, when abrasive particles have visibly detached from large sections of the filament bundle, or when increasing pressure and reducing speed no longer restore acceptable material removal rates. A worn brush with short, stiff filaments behaves differently from a new brush and will not produce the same surface finish even if the grit number is unchanged. Operating parameter adjustments can compensate for minor wear but cannot fix a brush that has reached the end of its useful life. Tracking brush hours per part number creates a predictable replacement schedule that prevents quality issues before they appear.