Rust rarely announces how deep it goes. A trailer frame that looks lightly stained on a Monday morning can reveal pitting under the first pass of a wire brush or a scraper, and the tool that looked obvious when the job was small turns out to be the wrong tool entirely. That is the trap sitting behind the usual wire brush vs. sandpaper question, because the honest answer to it is that neither tool is simply better than the other. The real question is what the rust is sitting on, how thick it has grown, and what the surface has to carry afterwards. A bare panel that will be primed can tolerate a texture that a machined sliding surface cannot, and a thick flaking scale that falls away under wire brush filaments will clog a sheet of abrasive within seconds.
The short answer is that a wire brush removes rust faster and reaches shapes that sandpaper cannot, while sandpaper produces a flatter, more predictable surface and is the only sensible choice where dimensional accuracy or a coating-ready finish matters. Use a wire brush to break down loose and layered rust, then use sandpaper to level and refine what remains. On its own, neither tool produces a surface that a coating will hold onto for long.
This guide works through the decision in the order it actually has to be made: assessing the rust first, then matching the tool to that assessment, then knowing what each tool can and cannot deliver.
The Real Difference: Impact Cutting vs Abrasive Scratching
A wire brush removes rust by impact and cutting. Individual wires strike the surface, fracture the brittle oxide layer, and scrape it away, leaving a directional, scratched texture. Sandpaper removes rust by scratching with bonded abrasive grains, cutting a shallower and more uniform pattern. The wire brush is a bulk-removal tool; sandpaper is a leveling and finishing tool.
The two mechanisms behave differently because the oxide layer itself is brittle. Rust, chemically an iron oxide, is far more brittle than the steel beneath it, and brittle material fails well under repeated impact but resists slow scratching. That is why bristles can lift flaking scale that a sheet of abrasive would simply ride over. It is also why the wire brush cannot produce a flat surface: a bristle tip is a narrow point of contact, and narrow contact points follow the contours of the metal rather than removing them.
| Dimension | Wire brush | Sandpaper |
| Removal mechanism | Impact and cutting by wire tips | Scratching by bonded abrasive grains |
| Surface texture produced | Directional, parallel scratch pattern | Non-directional, uniform matte finish |
| Best at | Loose rust, layered scale, weld spatter, castings | Flattening, refining, coating preparation |
| Practical removal rate on rust | Fast, roughly 40% faster than abrasive on equivalent area | Slower; limited by grit load and clogging |
| Contact pressure needed | High, typically 15–30 N to keep tips engaged | Low, typically 5–10 N, less at fine grits |
| Substrate loss | Uneven; concentrates at high spots and edges | Controllable; spreads across the contact area |
| Access to recesses | Good, in round and end formats | Poor without folding or wrapping |
| Consumable cost | Higher unit cost, longer life | Low unit cost, shorter life on rust |
The texture the tool leaves matters more than most people expect, because it becomes the mechanical key that a coating grips. A surface that is clean but polished gives a coating almost nothing to hold, while a surface with a defined peak-and-valley profile gives it interlock. This is why a round wire brush used at the right angle can produce a more coating-friendly surface than a finer abrasive used too aggressively, even though the abrasive leaves a smoother finish to the eye.
Iron oxide forms in distinct layers, and the general reference on rust explains the chemistry behind why the layer nearest the metal behaves so differently from the outer one.
Assess the Rust Before You Pick a Tool
The rust condition, not the tool list, determines the correct choice. Surface rust that has not yet lifted the metal is abrasive work. Layered, flaking rust is wire brush work. Pitting that has removed metal is neither: no mechanical tool restores thickness that corrosion has already consumed, and the honest goal becomes containment rather than removal.
Most people reach for a tool first and evaluate the damage second, which is why so many rust jobs end up over-worked in one area and untouched in another. The assessment takes a minute and changes the entire plan.
The Three Stages of Rust and What Each Demands
| Stage | Appearance | What it needs | Achievable preparation grade |
| Surface rust | Thin orange-brown film, metal still sound | Abrasive work; light wire brushing to open the film | Hand tool or power tool clean (St 2 / St 3) |
| Layered rust | Flaking, lifting scale with sound metal beneath | Wire brush first to break the layer, then abrasive to level | Power tool clean; spray-free bare metal on flat areas |
| Pitting | Visible craters, black oxide in the pits, metal loss | Mechanical removal plus treatment of the pits; accept a lower grade | Power tool clean at best; localised pitting remains |
The practical point is that mechanical tools have a ceiling. Standards for surface preparation recognise this: hand tool cleaning removes loose rust and scale but leaves tightly adherent material in place, and power tool cleaning is more effective but still not equivalent to abrasive blasting. In a coating specification that demands a near-white finish, no combination of wire brush and sandpaper will qualify the surface, and knowing that early prevents a coating failure that is already built into the job.
Mill Scale: The Layer Sandpaper Struggles With
New steel arrives from the mill with a blue-grey oxide skin called mill scale. It is a layered oxide, more adherent than rust and considerably harder, and it sits on the metal as a continuous shell. Sandpaper struggles with it because the abrasive rides across the top of the scale while wearing down quickly, producing a polished look over a layer that is still intact and still a barrier to adhesion.
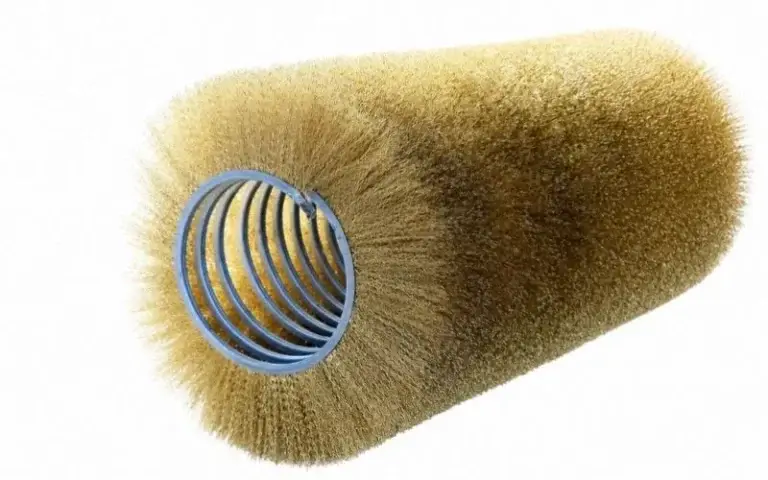
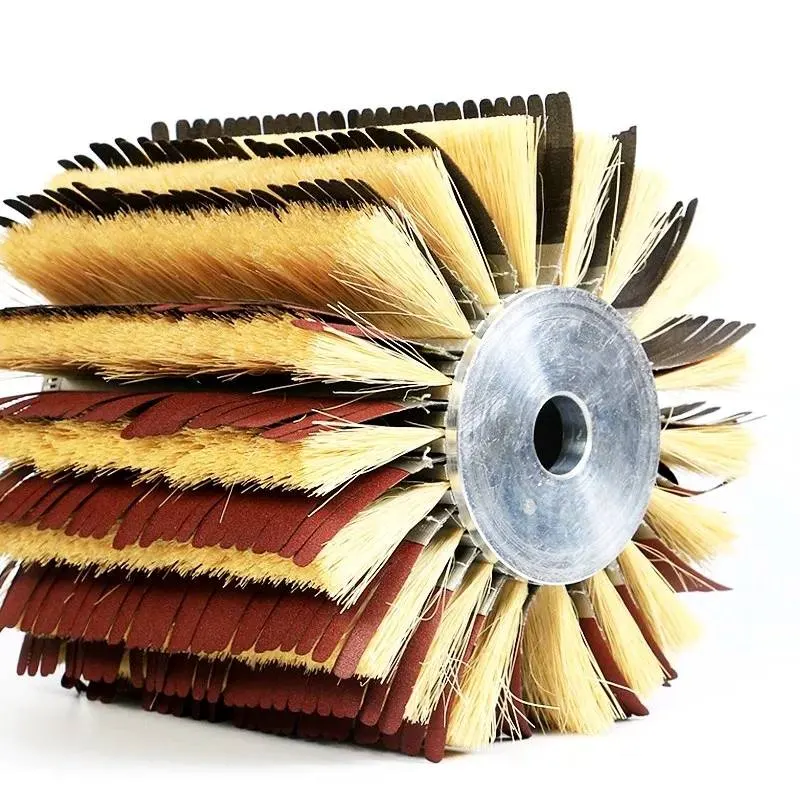
A cylinder wire brush, particularly one with knotted construction, is far better suited to scale because the repeated impact fractures it along its cracks. This is why scale removal on flat plate, bar stock and pipe is normally a wire brush operation, not an abrasive one.
The standards that define what each method achieves are worth reading in their original form; a clear comparison of the surface preparation grades used in coating specifications sets out what hand tool, power tool and blast cleaning each delivers.
Wire Brushes: Formats, Construction and Selection
The correct wire brush is defined by three variables in a fixed order: the format that reaches the area, the construction that matches the rust thickness, and the wire material that is compatible with the workpiece. Choosing on material alone, which is what most buyers do, produces a brush that fits the metal but not the job.
Format comes first because no other variable matters if the brush cannot touch the rust. A cup brush cannot clean the inside of a tube, and a wheel brush cannot reach into a corner fillet.
Brush Format and What Each One Reaches
| Format | Typical use | Reaches |
| Round wire brush (stem-mounted cylinder) | Internal bores, holes, pipe ends, engine passages | Areas no flat tool can enter |
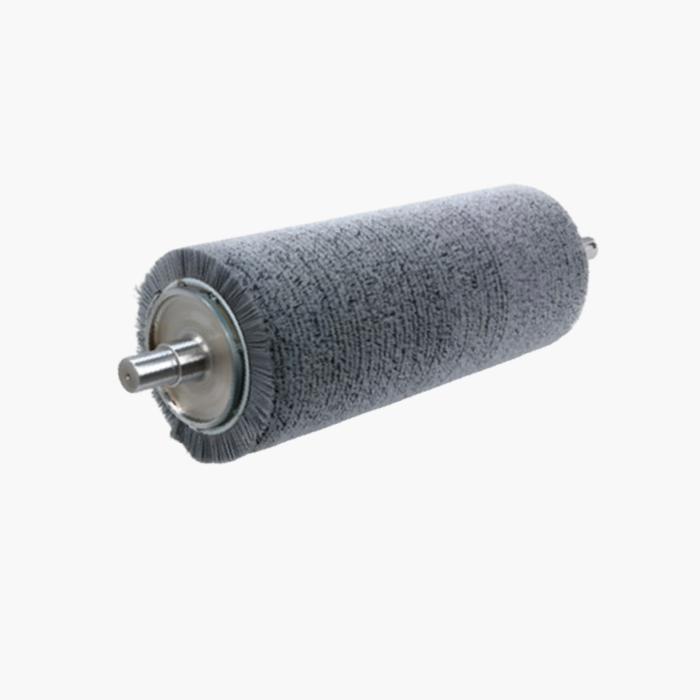
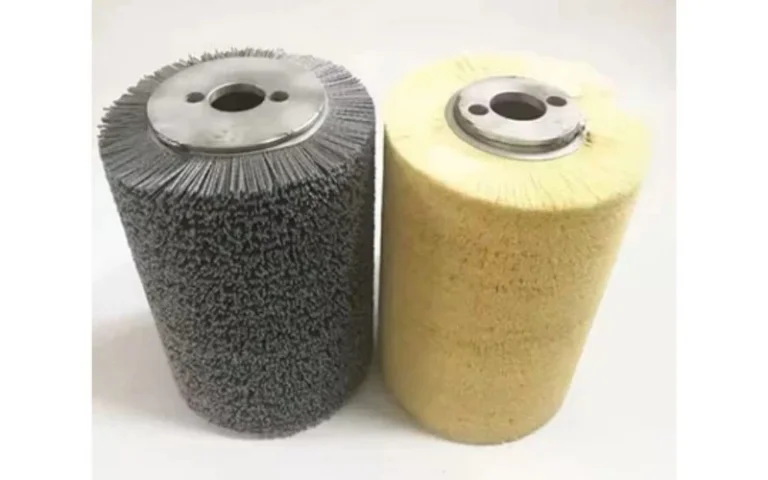
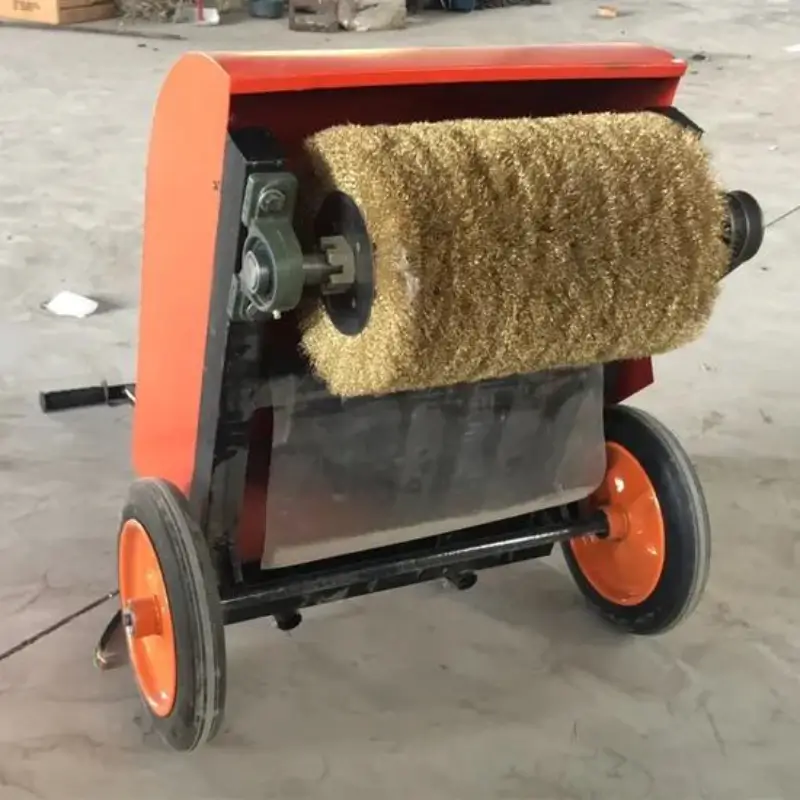
| Cylinder wire brush (machine-mounted) | Conveyor cleaning, continuous surface prep, wide face work | Long, flat or repeating surfaces at production speed |
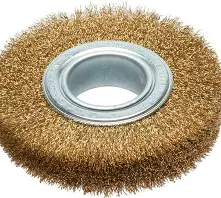
| Wheel brush | Angle grinders and bench grinders; edges, welds, flat plate | Open flat surfaces and edges |
| Cup brush | Angle grinders; larger flat areas, scale removal | Broad flat areas with controlled contact |
| End brush | Die grinders; corners, fillets, tight recesses | Confined and irregular geometry |
| Hand scratch brush | Small areas, touch-up, maintenance | Low-volume work where no power tool is practical |
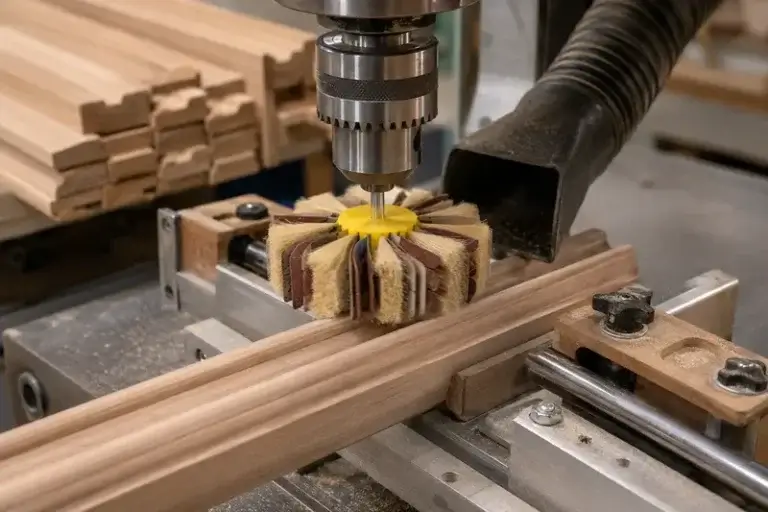
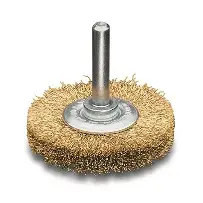
For rust removal specifically, a steel wire round brush fills a gap that no other format covers. Rust in a bolt hole, a pipe stub, a hinge mortise, or a casting cavity is inaccessible to a wheel or cup brush, and sandpaper cannot be folded into a shape it will grip. A stem-mounted round brush seats in a drill or die grinder and cleans the bore. This is the format that decides whether a job is complete or merely presentable.
Crimped vs Knotted: The Construction Choice
| Attribute | Crimped wire | Knotted (twisted) wire |
| Wire formation | Waved individual wires | Bundles twisted into knots |
| Typical wire diameter | Around 0.014 in for light work | Around 0.023 in for heavy work |
| Contact behaviour | Flexible, many light points of contact | Rigid, concentrated and aggressive |
| Aggressiveness | Moderate | High |
| Best for | Light cleaning, blending, coating removal, leaving a finer texture | Heavy rust, thick scale, weld spatter, castings |
| Substrate risk | Lower | Higher; can cut into softer metal |
The choice follows rust thickness directly. Use knotted construction where the oxide is layered and substantial, and crimped where a lighter film has to come off without gouging the metal underneath. A common and expensive mistake is running a knotted brush on light surface rust, which removes the rust and a measurable thickness of good steel along with it.
Matching Wire Material to the Workpiece
| Wire material | Suitable for | Avoid on |
| Carbon steel | Steel and iron workpieces; general rust and scale removal | Stainless steel and aluminium, where embedded carbon particles initiate corrosion |
| Stainless steel | Stainless steel, aluminium, food-contact and wet environments | Nothing in normal use; the safe general default |
| Brass | Non-ferrous metals, spark-sensitive areas, light cleaning | Heavy rust where stiffness is required |
| Brass-coated steel | Steel where some corrosion resistance is wanted | Stainless or food-contact surfaces |
The rule that matters most is the one about cross-contamination. A carbon steel brush used on stainless steel leaves microscopic steel particles embedded in the surface, and those particles rust, producing fresh corrosion in a material that was chosen precisely to resist it. Keep stainless brushes for stainless work and never lend them out.
Sandpaper: Grit Selection and Progression
Sandpaper for rust removal is a system, not a single sheet. The correct approach is to start with the grit that matches the rust thickness, then step through progressively finer grits so that each one removes the scratch pattern of the previous. Coarse grit opens the rust; medium grit levels the surface; fine grit prepares it for a coating.
Grit is a measure of abrasive particle size, and lower numbers are coarser. Two standards are in circulation: the CAMI or ANSI scale common in North America, and the FEPA or P scale common in Europe, which uses a P prefix. The two align closely at coarse grits and diverge at fine grits, where a given P number is generally coarser than the same CAMI number.
| CAMI grit | FEPA equivalent | Approx. particle size | Rust removal role |
| 60 | P60 | 268 µm | Heavy rust, thick scale, initial opening |
| 80 | P80 | 190 µm | Removing the marks left by 60 grit; sound rust |
| 120 | P120 | 125 µm | Moderate rust, general leveling |
| 150 | P150 | 100 µm | Final leveling before primer |
| 180 | P180 | 82 µm | Light rust, bare metal preparation |
| 220 | P220 | 68 µm | Finishing before coating on sound metal |
| 320 | P320 | 46 µm | Between-coat scuffing, fine metal finishing |
| 400 | P400 | 35 µm | Wet sanding, preparation for polishing |
| 600 | P600 | 26 µm | Metal polishing preparation |
The Progression Rule You Should Not Break
Never skip more than one step. A useful rule of thumb for the coarse range is that the next grit should be no more than roughly double the current one; above P400 the tolerable step narrows to about one and a half times. Jumping from 60 grit to 400 grit leaves deep scratches that the fine abrasive cannot remove in any reasonable time, and the resulting surface will show those scratches through a thin coating.
There is a second rule that matters on metal specifically. Stop as soon as the rust is gone. Abrasive cuts sound steel as readily as it cuts oxide, and every extra pass thins the material. On structural sections, thin sheet, or any part carrying load, that loss is cumulative and invisible.
Head-to-Head: Cost, Speed and Finish Quality
On rust removal specifically, the wire brush wins on speed and access, and sandpaper wins on surface quality and predictability. The wire brush removes bulk rust in a fraction of the time and reaches geometry sandpaper cannot address. Sandpaper uses less than half the contact pressure, produces a uniform finish, and leaves a surface with fewer embedded residues.
| Factor | Wire brush | Sandpaper |
| Contact pressure required | 15–30 N to keep tips cutting | 5–10 N, less at fine grits |
| Typical tool cost | Higher per unit, longer service life | Lower per sheet, replaced more often |
| Effective working time per consumable | Short sessions before cleaning or wear | Longer per sheet before efficiency drops |
| Removal rate on rust | Faster; broadly 40% faster on equivalent area | Slower; degrades as the sheet loads |
| Residual rust after working | Higher, roughly 10–15% in confined or rough areas | Lower, typically within 5% on accessible flat areas |
| Effect on coating adhesion | Good where a profile is created; risk if over-polished | Better on flat work; a uniform key is easier to control |
| Physical demand | High, especially overhead or on large areas | Moderate but sustained |
The residual figure explains a lot of real-world outcomes. A wire-brushed surface that looks clean can still carry rust deep in the profile it created, and any trace left behind will spread beneath a coating. Sandpaper leaves less behind on flat ground, which is one reason coatings applied over a properly sanded surface outperform those applied over a hastily brushed one.
Why the Best Answer Is Usually Both
For most rust removal jobs, the correct answer is not one tool, but a sequence. Use the wire brush to remove bulk rust and break scale, then use sandpaper to level the surface, remove the residue the brush left behind, and produce the texture the coating needs. The two tools do different work and neither substitutes for the other.
A Practical Sequence for a Rusted Steel Panel
- Degrease first. Solvent-clean the surface. Oil and grease driven into the rust by a brush will contaminate everything downstream and defeat adhesion.
- Break the rust with the wire brush. Use a format that reaches the geometry, and match construction to rust thickness. Work with light pressure and let the tips do the cutting.
- Inspect before moving on. Look for remaining loose material, scale that did not break, and rust sitting in pits and corners. The brush has done its work when material stops coming away.
- Level with sandpaper. Begin at a grit matched to what remains and step progressively finer. This step removes the brush’s scratch pattern and the embedded residue along with it.
- Remove dust and soluble salts. Brush or blow out the dust, wipe with a tack cloth, then wipe down with a clean solvent-dampened cloth. Salt contamination sitting under a coating causes failure regardless of how good the preparation looked.
- Prime immediately. Bare steel begins to oxidise within minutes in humid air, and flash rust forms a barrier that the primer cannot penetrate.
That last step is the one most often skipped, and it defeats everything before it. Surface preparation exists to give a coating something to bond to; leaving prepared steel exposed long enough for flash rust to form undoes the entire sequence. The mechanism behind this rapid re-oxidation is the same as the initial corrosion, and the reference on rust covers why bare iron reacts so quickly with moisture and oxygen.
Where Each Tool Fails: Limits and Bad Matches
Every tool has a substrate it should never touch. A carbon steel brush on stainless steel leaves rusting contaminants behind. A wire brush on aluminium embeds ferrous particles and starts galvanic corrosion. Sandpaper on a machined surface removes the dimensional accuracy the surface was created to provide. Thin sheet, finished wood, and precision surfaces fall outside the working range of both tools in their aggressive forms.
| Workpiece | Wrong choice | Consequence |
| Stainless steel | Carbon steel wire brush | Embedded carbon particles rust and initiate pitting |
| Aluminium | Any steel wire brush | Ferrous embedment and galvanic corrosion |
| Thin sheet metal | Knotted brush or coarse abrasive | Material loss, distortion, and in some cases perforation |
| Machined or sliding surfaces | Coarse abrasive | Loss of flatness and clearance |
| Finished woodwork | Wire brush of any kind | Irreversible damage to the surface film |
| Castings with fine detail | Knotted brush at high pressure | Rounded edges and lost detail |
| Parts to be re-coated | Over-polished with fine abrasive | Insufficient profile; coating delaminates |
The aluminium case is the one that catches people out, because the damage is invisible at the time. A steel brush run across aluminium looks effective, removes the oxidation, and leaves embedded steel fragments that create corrosion cells wherever moisture collects. Use stainless or brass on aluminium, and use them gently.
Safety: Speed Ratings, Shedding and PPE
Power wire brushing is the more dangerous of the two operations, and the reason is centrifugal force. A wire filament that breaks free at operating speed leaves the brush as a projectile. The critical number is the brush’s maximum safe free speed, which must always be equal to or greater than the tool’s no-load RPM.
| Brush format | Typical diameter | Typical maximum safe free speed |
| Wheel brush (bench grinder) | 6–10 in | 4,000–6,000 RPM |
| Cup brush (angle grinder) | 3–6 in | 6,000–12,500 RPM |
| Wheel brush (angle grinder) | 4–7 in | 6,000–12,500 RPM |
| End brush (die grinder) | 0.5–1.5 in | 15,000–25,000 RPM |
These are general ranges. The rating printed on the specific brush governs, and a brush with an unreadable or missing speed marking should not be used at all. Note also that many angle grinders rated at a given figure attain it only at no load, and slow under brushing pressure; the rating on the tool is the no-load figure, and that is the number the brush must survive.
Protective equipment for power brushing. Safety glasses with side protection worn under a full face shield, not instead of it, because a broken filament can pass beneath the glasses. Well-fitting work gloves without loose cuffs. Hearing protection. Long sleeves, long trousers, and sturdy footwear, in non-melting fabric where sparks are expected. Respiratory protection when removing paint, where the dust may be hazardous.
Inspection and retirement. Check before every use for loose wires, damaged or distorted construction, and damaged arbor threads. Retire the brush if it develops significant vibration, because that indicates unbalanced wire wear, or if it has been dropped from height.
Operating discipline. Keep the guard and side handle fitted. Clamp the workpiece; never hold a small part by hand against a spinning brush. Position yourself so debris travels away from your body. Use the lightest pressure that removes the contamination, and keep the brush angle shallow so the tips work the surface rather than the sides of the wires. Let the brush come to a complete stop before setting the tool down.
FAQ
Q1: What grit sandpaper removes rust?
It depends on how much rust is present. For heavy or deeply layered rust, start at 60 to 80 grit to open the surface. For moderate rust, 100 to 150 grit does the bulk of the work. For light surface rust or bare metal preparation, 180 to 220 grit is appropriate. For finishing before a coating or for smoothing between coats, step up to 320 to 400 grit. Always progress through the grits rather than jumping, and stop as soon as the rust is gone, because abrasive removes sound steel as readily as it removes oxide.
Q2: Is a wire brush better than sandpaper for rust removal?
For removing rust quickly and reaching awkward geometry, yes. A wire brush breaks down layered rust and mill scale faster than an abrasive sheet working the same area, and formats such as a round wire brush or a cylinder wire brush reach into bores, corners, and repeating surfaces where sandpaper cannot be applied effectively. But better at removal is not the same as better overall. If the surface will be coated, the end result depends on how flat and how clean it is, and that is where sandpaper is stronger.
Q3: Can I use sandpaper instead of a wire brush?
You can, and on light surface rust it is often the better choice because it leaves a more uniform surface with less residual rust. The limits appear on thick, flaking or layered rust, where the abrasive clogs almost immediately and progress becomes very slow, and on mill scale, where the abrasive rides over a hard oxide shell instead of fracturing it. Where sandpaper is impractical, a wire brush in a suitable format removes the bulk quickly and leaves less for the abrasive stage to do.
Q4: What kind of wire brush removes rust?
The format follows the shape of the area to be cleaned, and the construction follows the thickness of the rust. Wheel and cup brushes handle open flat surfaces and edges, end brushes handle corners and fillets, and round brushes handle bores and internal geometry, with a steel wire round brush being the usual choice for rust inside holes and pipe. For construction, knotted or twisted brushes cut through heavy rust, thick scale, and weld spatter, while crimped brushes suit lighter cleaning and coating removal where a finer surface texture is wanted. Match the wire material to the workpiece, and never use carbon steel wire on stainless steel or aluminium.